Install and Setup NixOS + Hyprland from Scratch
First of all, though it’s from SCRATCH, I suppose the reader know basic Linux concepts and commands and is able to use basic tools for os installation such as Vectory. Of course this is mainly based on my walk through, so remember using google to finish what is not mentioned for you.
I fell in love with Nix for the first I have it installed cause it is definitely what I am searching for after more than three years of Arch usage. I have reinstalled my Arch many times, and each time I have to reinstall the packages manually and spend time to change the configurations, it’s fun and I enjoy it. But recently I don’t have much time left for it, so NixOS is definitely what I want.
As for Hyprland, I found it very popular recently and it’s written in cpp, so I tried it with Arch from scratch and found it a fancy wm.
Download and boot from image
Get NixOS image here, I chose Minimal ISO image in my case.
To begin the installation, you have to boot your computer from the install drive.
- Plug in the install drive. Then turn on or restart your computer.
- Open the boot menu by pressing the appropriate key, which is usually shown on the display on early boot. Select the USB flash drive (the option usually contains the word “USB”). If you choose the incorrect drive, your computer will likely continue to boot as normal. In that case restart your computer and pick a different drive.
Setup WIFI (Optional)
There is no iwd preinstalled in NixOS like Arch, so use wpa_supplicant instead.
1 | # Bring the interface up |
Try installing new packages
Before installing a new package, you may want to check if the package exists and how to install from here.
Most of the time, install a package like this:
1 | nix-shell -p cmatrix |
Partitioning and formatting
Run lsblk to see where you gonna install NixOS into, the output may looks like this:
1 | NAME MAJ:MIN RM SIZE RO TYPE MOUNTPOINTS |
Suppose the nvme1n1p3 is what you want and you are SURE to format it:
1 | sudo mkfs.ext4 -L nixos /dev/nvme1n1p3 |
Install NixOS
1 | # Mount the target file system on which NixOS should be installed on `/mnt` |
(Optinal) 将清华源做为默认源,添加以下内容到配置文件大括号内
1 | nix.settings.substituters = [ "https://mirrors.tuna.tsinghua.edu.cn/nix-channels/store" ]; |
在安装 NixOS 时临时使用清华源
1 | nixos-install --option substituters "https://mirrors.tuna.tsinghua.edu.cn/nix-channels/store" |
For more detailed processes, check this
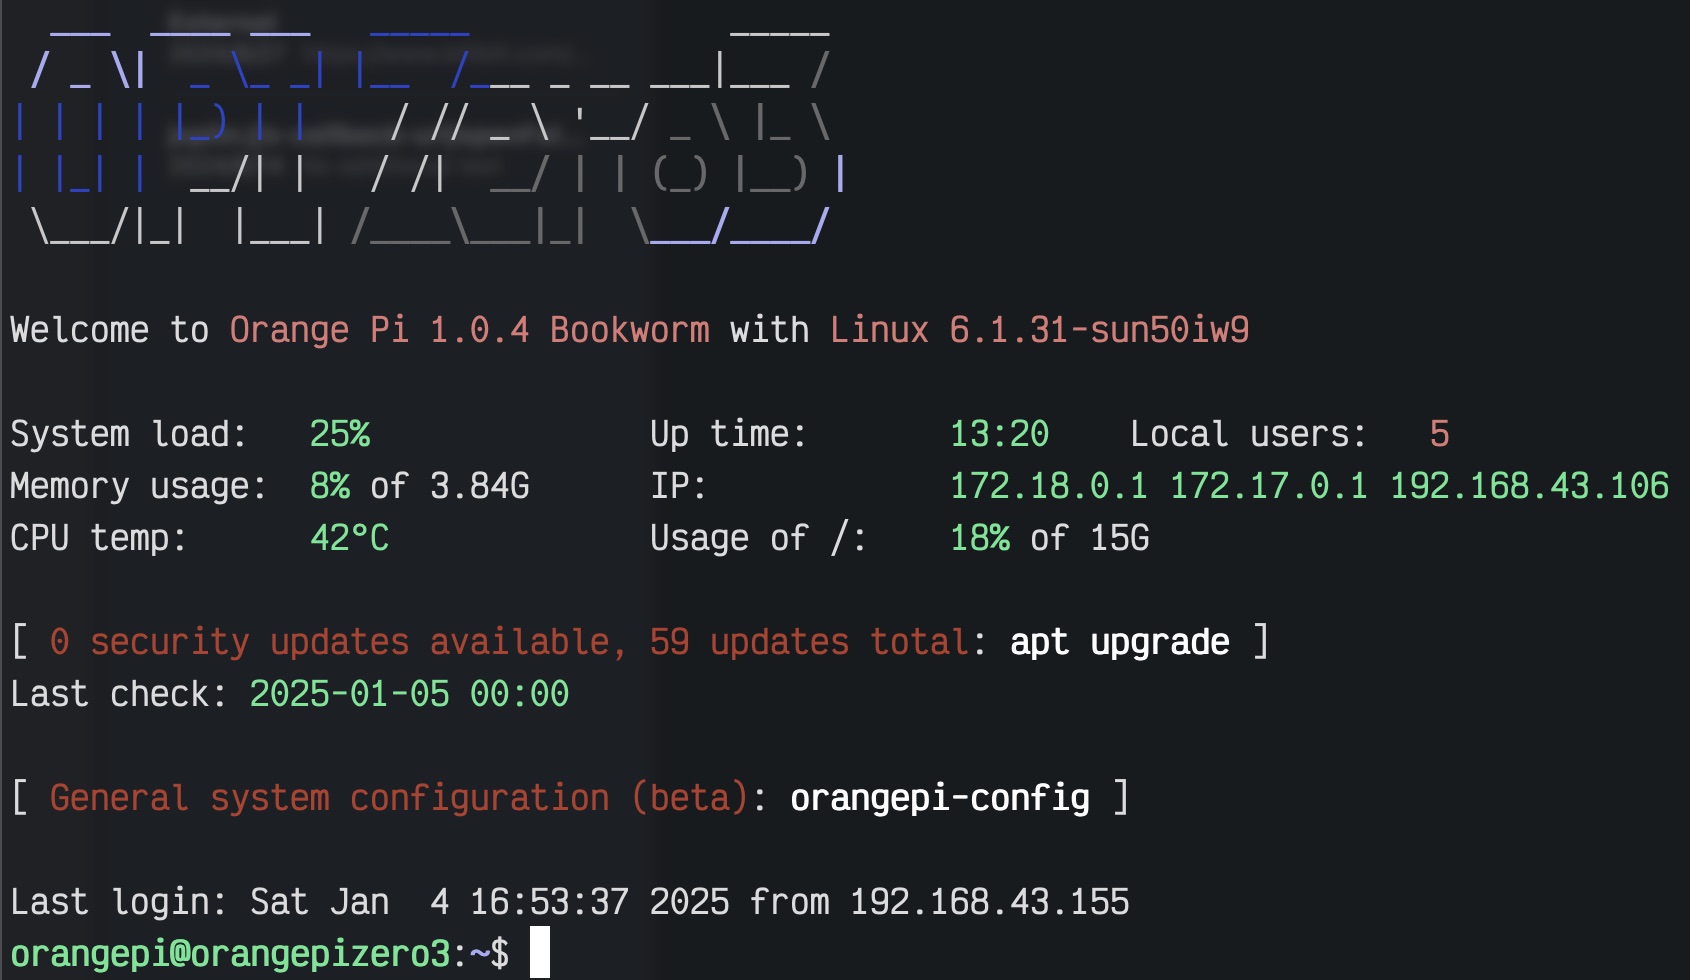
Start NixOS
Reboot and choose the NixOS just installed. Setup wifi following the same procedure above, and this time you can make it start automatically via systemctl enable --now wpa_supplicant.
Or you can use NetworkManager instead, procedure will not be presented here.
Install Hyprland
Edit /etc/nixos/configuration.nix and add following:
1 | { |
Then install necessary packages, I use alacritty as my default terminal on Hyprland:
1 | { |
Rebuild NixOS:
1 | sudo nixos-rebuild switch |
Edit Hyprland’s config file ~/.config/hypr/hyprland.conf:
1 | # change the default terminal from kitty to alacritty |
Start Hyprland.
1 | uwsm start select |
The end
The most basic setup has been done, you can now walk around the Hyprland and NixOS’s wiki and forums for more useful configurations and build up the final system that you want.
Enjoy!